A Simple Guide on How to Maintain a Floor Trough
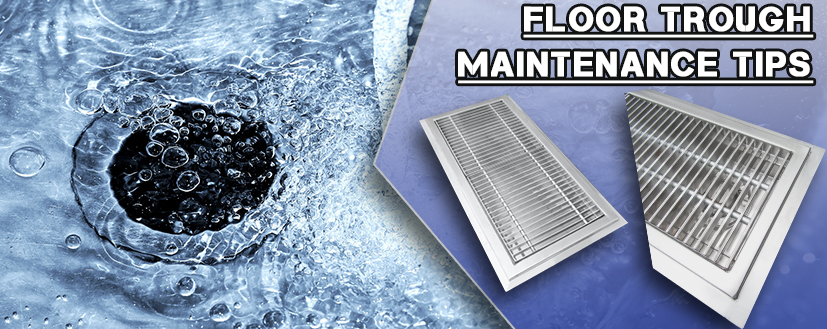
Floor troughs are designed to channel & drain away excess liquids so floors can stay dry & safe for everyone. As with every piece of equipment, floor troughs need to be properly maintained in order to prevent clogging & potential floods. It’s simply something that cannot be overlooked.
In this article, we will 4 key maintenance tips that apply to all floor troughs so they remain in the best condition possible. Let’s begin with the very first tip.
1. Clean the Exterior
Let’s start with the obvious. Although the trough itself is secured into your floor, cleaning the exposed exterior portion should be priority #1. This involves doing a thorough sweep on all corners & crevices using a small brush. After you’ve removed all dust/dirt from the exposed parts, wash it with soapy water.
The idea is to keep your floor trough from drying out & accumulating large buildups on the surface that would impede any flow. It will also keep your trough looking fresh & new for the long term!

2. Clear the Drain Pipe
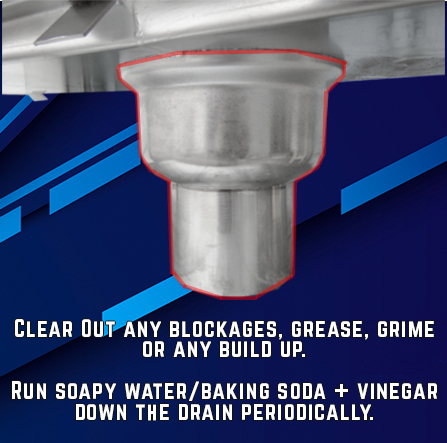
Each floor trough has a tailpiece where excess liquids flow into. Over time, grime & grease will build up in the pipe. If this tailpiece is blocked, there would be nowhere for the debris to flow. This is why periodically clearing out the drain is a necessity.
This can be achieved by pouring soapy water down your drain for the best results. You can also combine baking soda & vinegar to create the ultimate drain cleaner. For those harder cleaning applications, a plumber’s snake may be needed to really get rid of any unwanted obstructions.
3. Tidy Up Your Grating
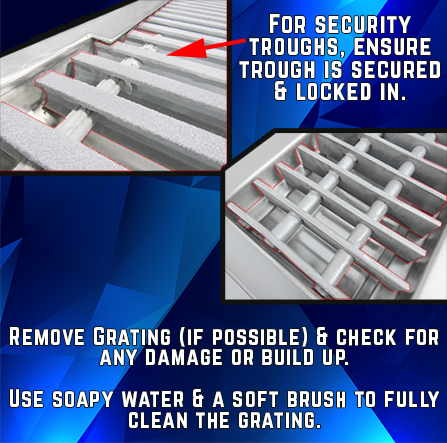
This goes along with point #1 about cleaning the exterior. The grating is the element that keeps large waste out of the trough. Grating also handles vehicular & human traffic so troughs can withstand the day-in day-out abuse.
Cleaning the grating should involve removing it (if possible) & thoroughly inspecting it for any signs of damage & grease/grime buildup. Once again, use soapy water or a cleanser free of harsh chemicals to sanitize the grating.
For fiberglass grating, the same cleaning methods apply. In fact, a bristle brush or broom can be used to remove the heavier particles. Soap & water is going to work wonders!
Finally, ensure the grating is fully secure into the trough & not tilted on one side. If you have a security trough, insert the locking screws into your trough for a complete seal.
4. Don’t Forget the Strainer
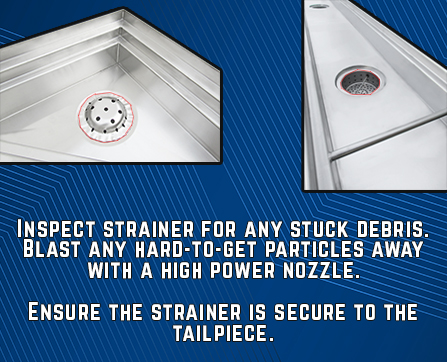
The strainer filters out smaller debris that may become an issue for your trough. Over time, your strainer may become blocked, which will slow down the liquid flow into your trough.
Remove the strainer from your trough & inspect it for any buildup. Remove any potential problem areas with a soft bristle brush. Use a high powered nozzle to blast away any hard-to-get pieces. Make sure all particles are loosened up & removed before inserting it back into the trough.
On a side note, check to make sure the strainer is properly secure in the tailpiece & not wobbling around as this may knock it loose during peak drainage.
Keeping your floor trough in working condition is a big win for facility safety. Even though floor troughs may seem like a simple item, there are many components that need to be carefully evaluated on a periodic basis. For IMC’s complete floor trough & grating lineup, click here.

